


Setting up your own Windows server is pretty simple: Microsoft actually created a Windows edition designed specifically for centralized storage and backup called Windows Home Server, but it was discontinued in 2011. Thankfully, Windows 8 sports new storage and backup features that make it uniquely suitable as an impromptu file server, and I'll walk you through the setup process in this article. Along the way we'll learn about the new Storage Spaces feature, file sharing with HomeGroups, streaming media via the network, backing up your files, and remotely accessing your storage when you’re away.
Creating Storage Spaces
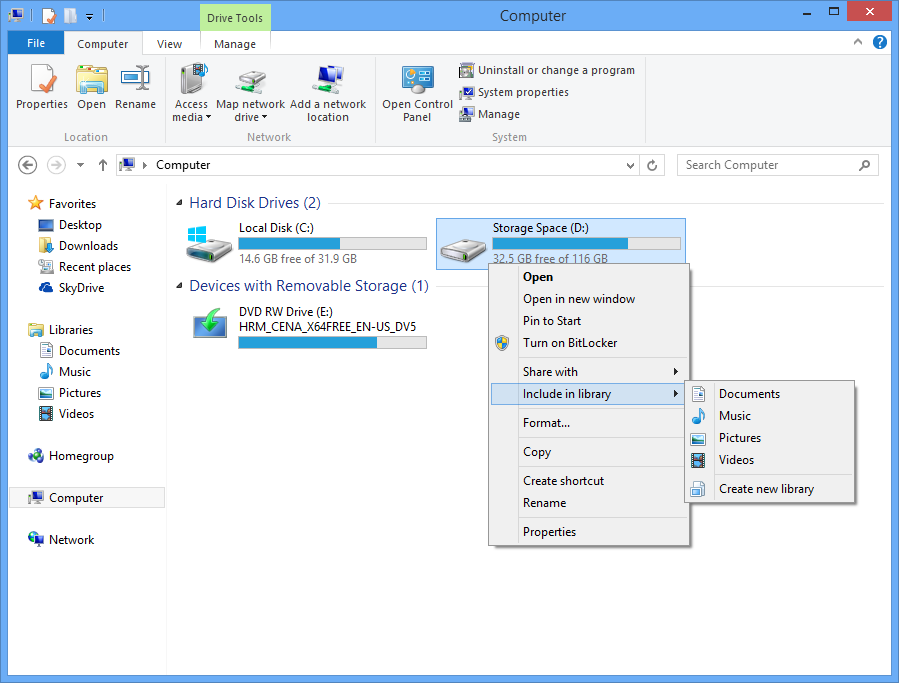
Windows 8 includes a new file storage feature called Storage Spaces, and it's designed to protect against hard drive failures by making copies of your data and spreading it across multiple drives. It's a more cost effective, user-friendly solution than RAID drives and works much like the beloved Drive Extender feature in early editions of Windows Home Server.
Share your files on the network
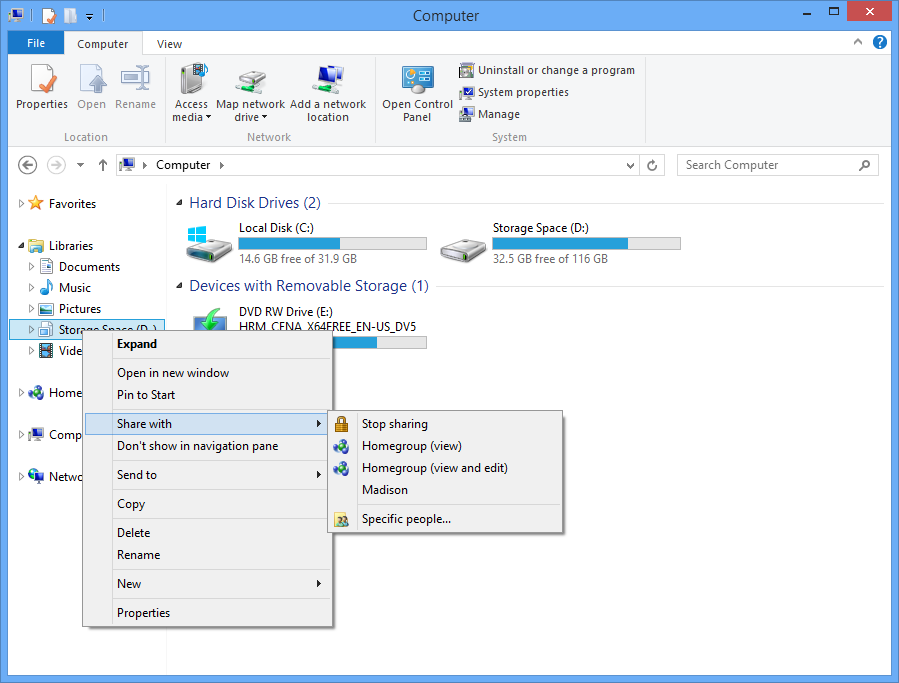
Next you likely want to share your files, any printers you have attached, and any Storage Spaces you’ve created on the network so you can access them from other PCs and devices. If all your PCs are running Windows 7 or 8 consider using the HomeGroup feature, which lets you share your Libraries (Documents, Music, Pictures, and Videos) and printers. And since the HomeGroup is password-protected, you don’t have to worry about guests and visitors accessing your files. If you need help creating your HomeGroup refer to a past article, which is written for Windows 7 but details a process that works roughly the same for Windows 8 users.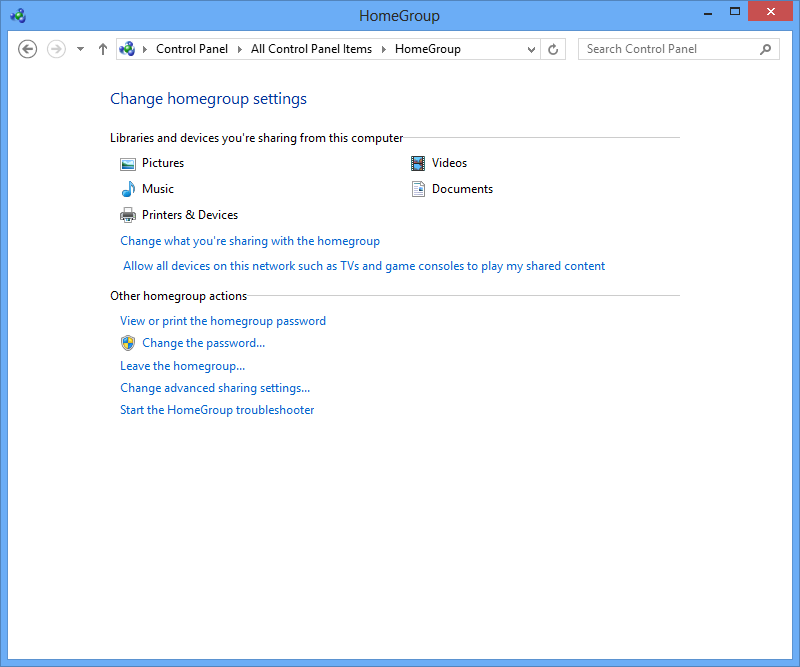
Streaming media across your network
If you have music, photos, or videos you’d like to play or view on other PCs or devices (gaming consoles, TVs, digital media players, etc), you’ll also want to set up media sharing on your Windows 8 server.Once you’ve configured media streaming, you can use the “Play To” functionality of Windows 8 to remotely start streaming a media file to a supported PC or device on the network. You’ll see an option for this when browsing files in the traditional Windows desktop and in the new metro-style Windows 8 apps. You can also remotely view and play media from other PCs via Windows Media Player: you’ll see media libraries appear on the bottom left for PCs that are configured to share their media. And on other non-Windows devices, you may be able to browse and play/view your shared media.

And then select “More streaming options”, where you can choose which PCs and devices are allowed access.
Access your files remotely with SkyDrive remote fetch
To access files on your Windows 8 server (or any other PC) when you’re out of your home or office, Microsoft provides the SkyDrive remote fetch feature. Once you install the Windows desktop app onto your PC you can remotely access any file on it via the SkyDrive website or on your mobile devices.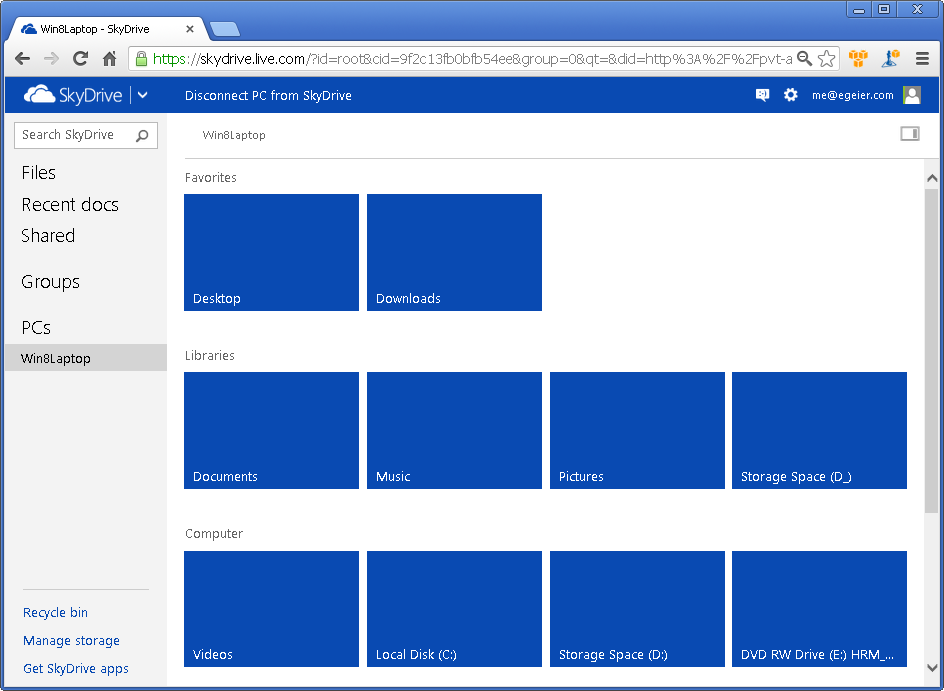
Backing up your "server"
Since you’ll be storing most of your files on your Windows 8 server, you should ensure you have a good backup solution in case files become corrupt or accidently deleted. Though Microsoft removed some backup features (like the ability to create complete backup or to backup files from any location) in Windows 8, its new File History feature provides a more automated and user-friendly solution.Once you connect an external drive and enable File History, it automatically saves snapshots of all files in your Libraries. By default it’s set to save snapshots every hour for changed files. So if a file becomes corrupt, deleted, or you’d like a previous version of the file you can restore it.
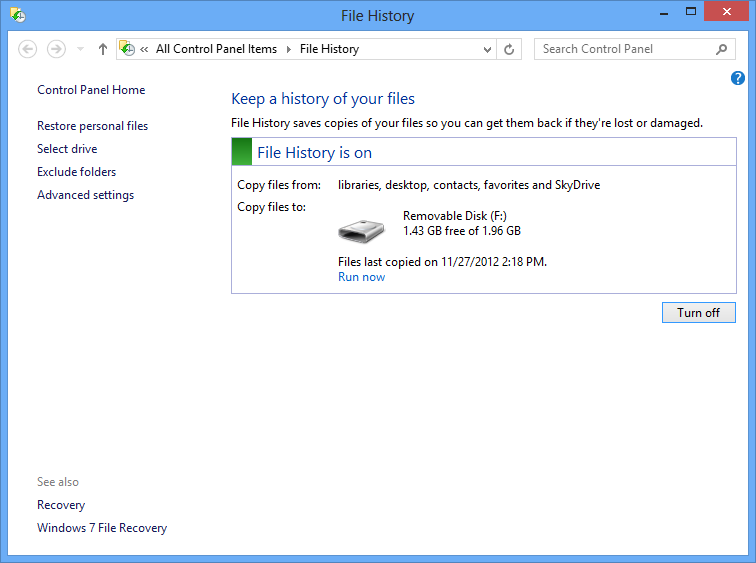
When you’re ready to enable File History, press the Win key to go to the Start screen, type “File History”, select Settings on the right, and then open File History.
Bonus round: Backing up other PCs to the “server”
There's one last trick you should know about: you can also use your Windows 8 server as a backup location for your other PCs. If you have other Windows 8 PCs and are using HomeGroup for sharing, you can enable the “Recommend this drive” option in the Advanced Settings of File History on your “server” PC.


0 comments:
Post a Comment